
Mastering White Balance
Light. That is something that we don’t think about often. But we especially don’t think about the color of light either. You’re eyes don’t see all the colors of the light around us, we only see white, except for the obvious cases of a red sunset, or a yellow sky before a storm. But our cameras can see what we can’t. WB, or White Balance, is what we control to get different colors of light in or out of our pictures. To control the WB, press and hold the little button next to the screen that has the letters “WB” above it. Make sure the screen is black, or else it won’t work. Switch the mail control dial around, you will see a bunch of symbols switching around. Switch it to the light bulb symbol. That is the setting that makes all the yellow light around you go away with a thin screen of blue. If you want cold pictures, find a place with not much yellow light and use that setting to get a result like this one.
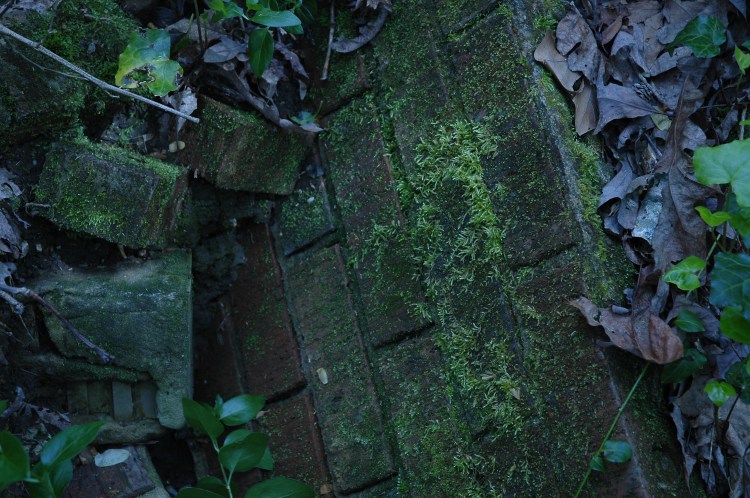
You see how blue it is? In that case, I think it looks good and interesting, and maybe even different. That is a cool effect. Then switch to the rectangle shape, that is what gets rid of all green light from the florescent lights around you with a screen of magenta. But if you want a different outcome, go outside, and shoot a picture with the setting on. And you get this.

You also see that? Now go to the sun symbol. That keeps the sunny lighting around you a little balanced, look at this.

I had sun blazing around me, and this helped.Now, switch to the cloud, or overcast symbol. That warms up a cloudy or dark day with some yellow, but again, here is a different approach to this setting.

And now, the last but not least, the A, or, Auto. This balances any light you have to make a semi-white picture. I have used it for most of my photos, and here is one of them.

And there you go! You have mastered WB! (Kind of, you can’t be perfect.)
